3D Printing Center for Hobbyists: 3D Modeling
Your learning has lost in space.
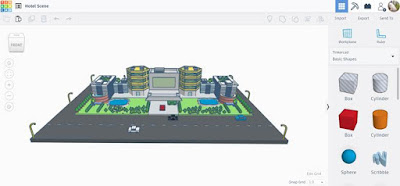
Hotel scene in Tinkercad


Hotel scene in Tinkercad


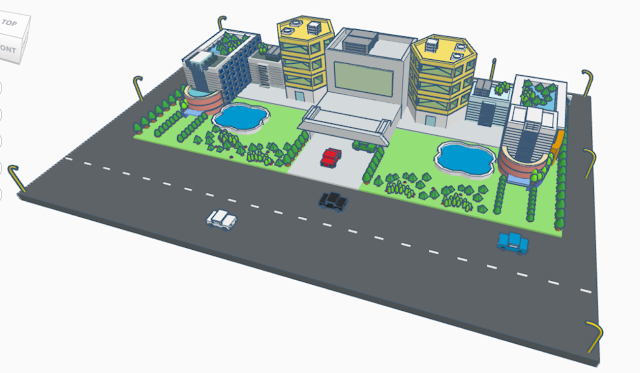
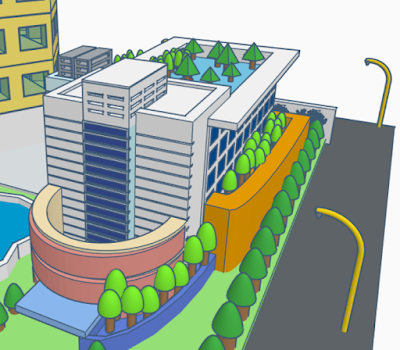
My oldest son made a model representing a hotel. He will demonstrate how he made the scene step by step. The final result will be like this.
Hotel scene in Tinkercad

Tinkercad:

https://www.tinkercad.com/things/irkGJhz7jjR-hotel-scene


Hotel Overview

I made a hotel project consisting of 7 buildings, swimming pools, some trees, cars, streets, lights, and other features.


Hotel Building #1

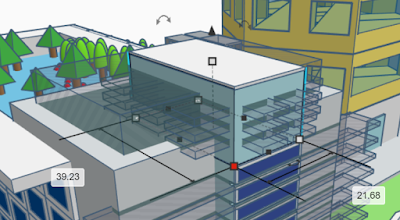
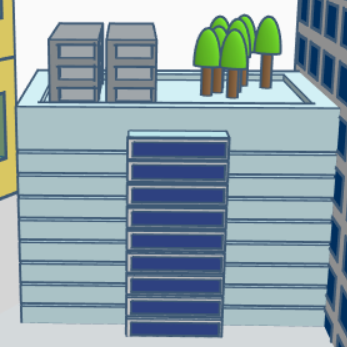
The main shape of the building is a box. Scale the box as shown in the picture. Add some details for the windows by using boxes.
Building 1

Arrange, copy, and group them until you obtain windows that are similar to those shown in the picture.

Hotel Building #1

Hotel Building #1

Hotel Building #1

 Add the details to the front faces of the buildings by using many boxes consisting of 3 solid boxes and many hole boxes. Scale and arrange them. Make some features to the buildings by using holes with shapes of boxes, and group them together. 

Hotel Building #1


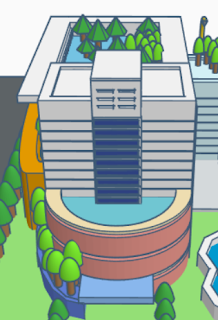
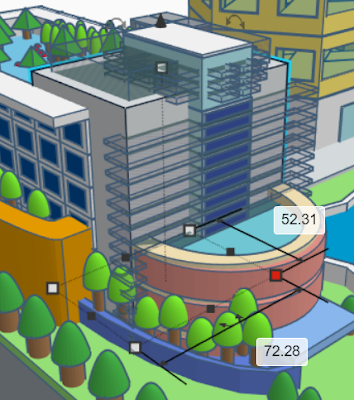
In order to make a semicircle in the front of the buildings, drag 2 round roofs, one for the building features, one for the hole. 

Hotel Building #1


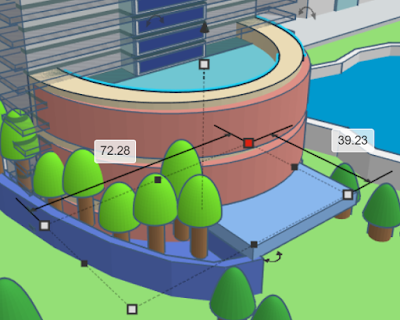
Group them together. Duplicate and resize them to make the details as shown in the picture.

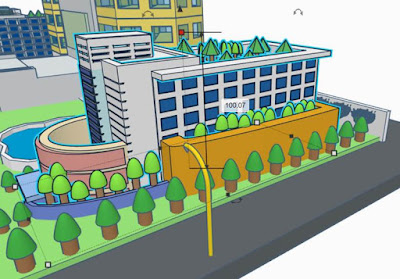
Add some additional building features for planting by using 2 pairs of boxes and metafillets and make some of them into holes as shown in the picture.

Hotel Building #1

Hotel Building #1

Hotel Building #1

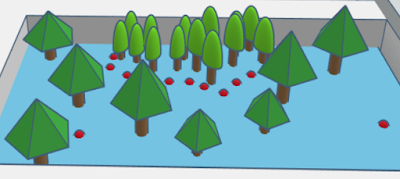
For the trees, use paraboloids, pyramids, and cylinders. Arrange them until you get trees. Group and duplicate them randomly as shown you desire like in the picture.

create trees

create trees

create trees


Hotel Building #2


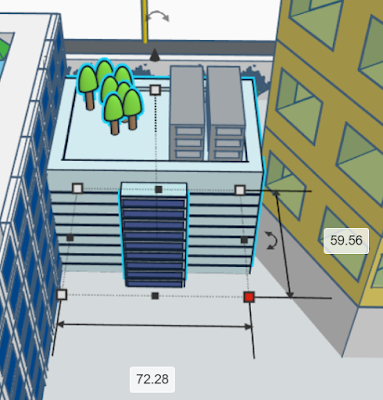
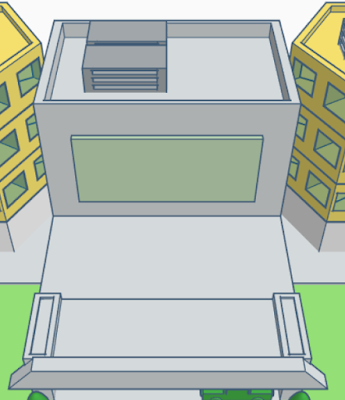
The main shape for the second building is a box. Scale the box as shown in the picture. Add some details for the windows by using boxes. Arrange, copy, and group them until you obtain windows that are similar to those shown in the picture. 

Hotel Building #2

Hotel Building #2

Hotel Building #2

Hotel Building #2
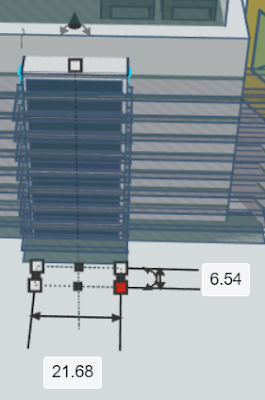
Add the details to the front faces of the buildings by using boxes, 1 for the front list and the others for holes. 

Scale and arrange them. Make some features to the buildings by using holes with shapes of boxes, and group them together as shown in the picture.

Hotel Building #2

Hotel Building #2

For the trees, use paraboloids, pyramids, and cylinders. Arrange them until you get trees. Group and duplicate them randomly as shown you desire like in the picture.

Hotel Building #3

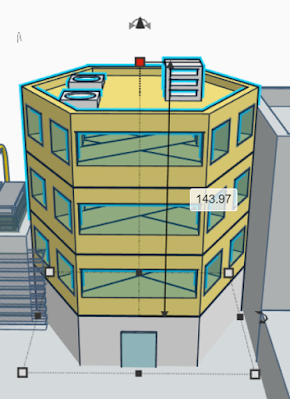
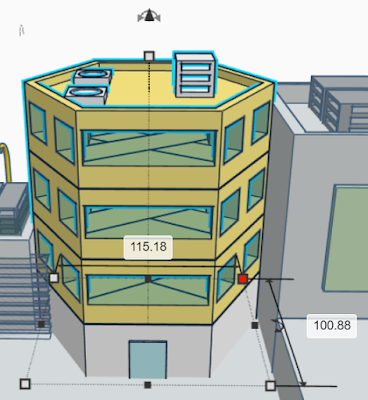
To make a building like this, the main shape is using polygon with the side of 6. Add some features to the building, such as windows and doors, by utilizing multiple hole and solid boxes.
the main shape is using polygon with the side of 6

In order to create a transparent window, just click transparent in the color option. Copy and paste them 2 times. Stack them all until you obtain 1 tall building with 4 stories.

Add some outdoor A/Cs and fans on the roof of the building. To make these, simply grab hole and solid boxes, and group them together. See picture.
To make these, simply grab hole and solid boxes, and group them together.


Hotel Building #4

To make building #4, just use some boxes and holes. Scale and group them together. It is hard for me to explain word by word how to create this building. Yet, do not worry. I will embed the Tinkercad, so you can see and explore it one by one.

Hotel Building #4


Hotel Building #5

Building #5 is a duplicate of Building #3. Just copy and paste Building #3 to the right of Building #4. The only difference is that I flipped the outdoor A/Cs and fans.

Hotel Building #5


Hotel Building #6

Building #6 is a duplicate of Building #2. Just copy and paste Building #2 to the right of Building #5. I flipped the entire building horizontally.
Hotel Building #6


Hotel Building #7

Building #7 is the duplicate from Building #1. Just copy and paste Building #1 to the right of Building #6. I flipped the entire building horizontally.
Hotel Building #7

Base of the Building (Floor)

For the base, drag boxes to the workplane. Yet, make sure the height is not too high. Scale them as you wish as long as the base covers all the buildings.

floor

Swimming Pools

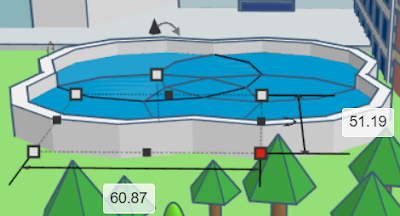
To make swimming pools, drag and drop polygon to the workplane and change the side to 12. Scale them as you like. Duplicate them, so there are 4 polygons in total. Arrange them like in the picture. 
creating swimming pool

Copy and paste those 4 polygons that you made previously. Make the scale larger than the first one. Make the hole. Group them together. So now, you have swimming pools with the skimmers.

swimming pool

Streetlights

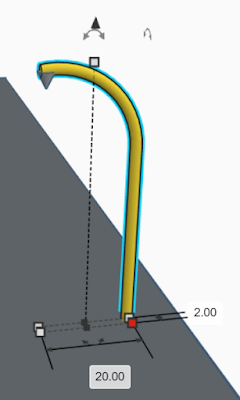
In order to make a streetlight, you need a pipe and a cone. Scale and arrange them like in the picture. Group them together.
make streetlight

Make duplicates of the streetlights. The amount of streetlights is up to you.

duplicate streetlight

Trees

For the trees, use paraboloids, pyramids, and cylinders. Arrange them until you get trees. Group and duplicate them randomly as shown you desire like in the picture. I used the same trees as in the previous step, only the scale is different. 
For the trees, use paraboloids, pyramids, and cylinders.

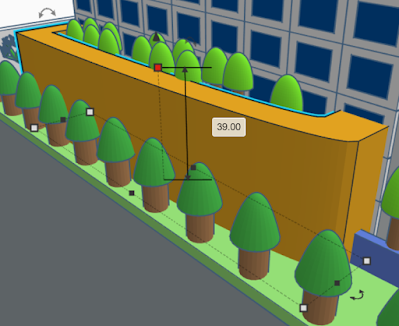
Also, make a wall behind the buildings by using boxes. Add some trees beside the walls behind the buildings by dragging tree shapes from the shape generators. Duplicate them.

make a wall behind the buildings by using boxes

Duplicate trees

Streets

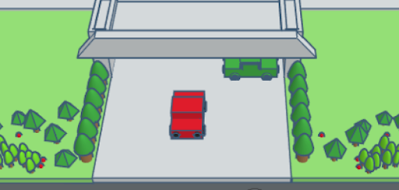
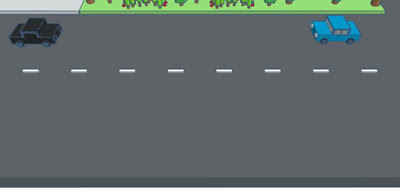
For the streets and lane stripes, use boxes and arrange them like in the picture.

street

Cars

In order to complete the scene, make some cars and put them on the streets and in the parking lot. The main bodies of the cars consist of boxes and wheels from the shape generators.
car


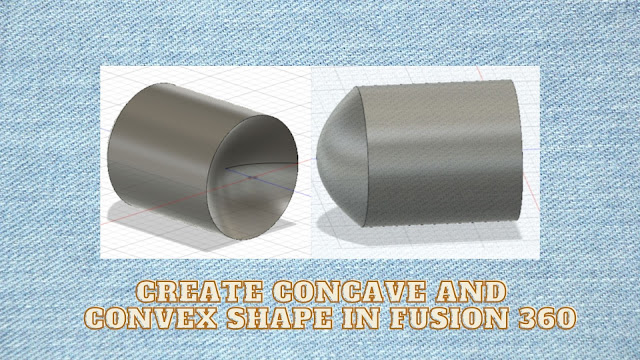
Concave and  Convex Shape in Fusion 360


Convex Shape  


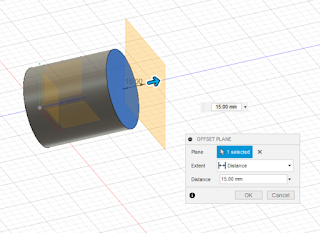
For creating convex shape, first make cylinder. Create the offset plane and choose the plane. Extent the distance of the offset pane.

Extent the distance of the offset pane.


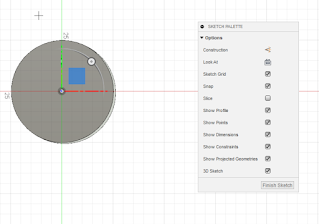
Create new sketch and select the offset plane. Create sketch point and click the center of the circle. Finish the sketch.
Create new sketch and select the offset plane

Finish the sketch


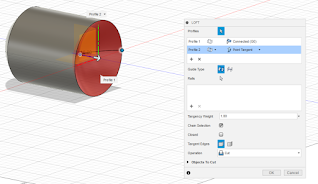
So now, you have a circle and a point. Connect them by clicking loft.
First, click the circle shape and then the point.
Connect them by clicking loft.


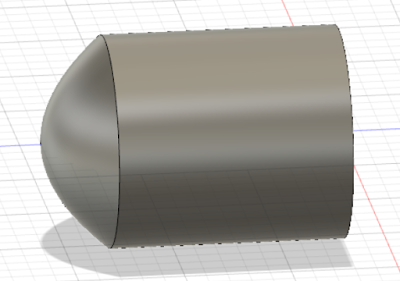
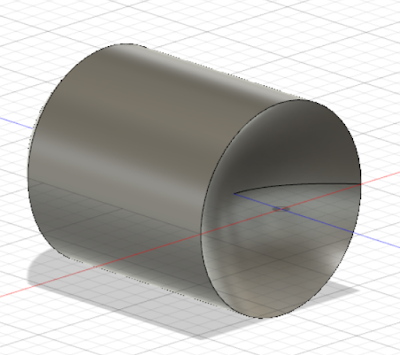
click ok. You got convex now.


convex shape in fusion 360

Concave Shape

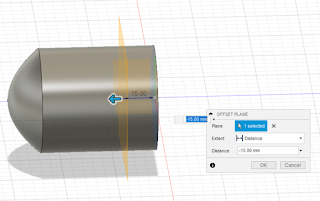
To create concave, just extent the offset to inside the cylinder. The rest is the same as previous.

extent the offset to inside the cylinder


You got concave now.

concave Shape


Exercising is the primary matter in creating our body and mind healthy. Therefore, it is crucial to keep our health that makes our body more robust. There are many fitness and gym centers available in our communities. The competition of those industries also escalates. 

Every gym center promises to offer its best amenities for the customers. It is a formidable task to create a new gym center that stands out in our communities. Because of this reason, building a virtuous gym proposal is mandatory in promoting the gym center to customers.
gym design in formit

For the design, I share this publicly by sharing it with Google Drive, using this link.


Mission and Vision of Building Gym Center

As a former fullback football star of New England Patriots, James Develin had a background for architecture that he was interested in before entering his football career. He felt that he has a good imagination, loves arts, math, science, and practical studies. He thought it would be great to combine all of those fields into one. He experienced a pivot in architecture.

Therefore, he studied Mechanical Engineering. Because he got a neck injury, he announced to retire from football. Now, he thinks of having a second career. For he loves football and its training, he decides to combine it with architecture for constructing a building and rehabilitation. 

He comes up with an idea to build a facility where people can train and rehab their injuries and give services for better good as the NFL's services. Develin also mentions that this facility center should cope with our current condition, which is the COVID-19 pandemic.

gym design in formit


Floor Plan

As the location already mentioned in Philadelphia, I assume that the gym's size is rectangle or square. Before making the model, especially in 3D View, creating a floor plan design is a necessity to do at first. In the floor plan, we should include some rooms that a gym and rehabilitation center should have, which are several rooms as follows:
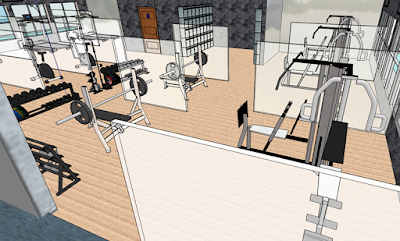
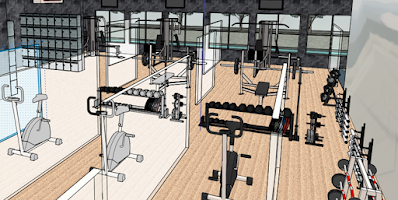
- body buildings (treadmills, stationary bikes, bench presses, bars, plates, kettlebells, multi-functional gym machines, and include some racks for plates, bars, and kettlebell)
- therapy equipment (such as physical therapy and aquatic therapy)
- hot tub spa
- aerobic class
- yoga class

See the image of my floor plan level 1 and 2.
1st floor plan

2nd floor plan

Autodesk Formit 

After I finished drawing the floor plan, I decided to start making a 3D model by using Autodesk Formit. For those who want to start building a model with Formit, click this link to download, or you can design online here

In my opinion, this software is a combination between Tinkercad and Fusion 360. The advantage of this software is that we can do a walkthrough or view it with a 3D view.

autodesk formit

Interior Design- Solar Panel and Windows

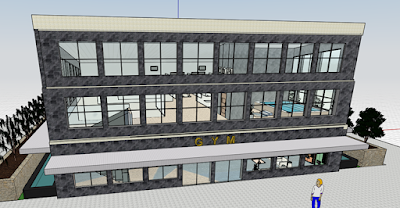
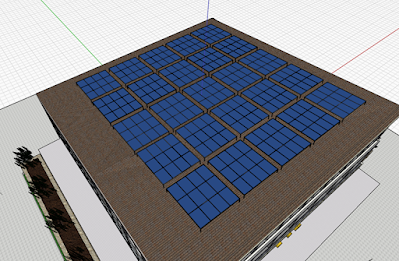
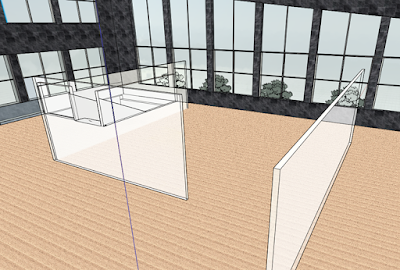
I design a two-story- gym center with lots of windows and have additional solar panels on the roof. The function of installing solar panels is conserving energy that leads to a reduction of electricity cost. Choosing lots of windows are expected to present natural lights getting into the construction.
windows in my design

solar panel on the rooftop


Interior Design- Plexiglass to prevent COVID-19 pandemic

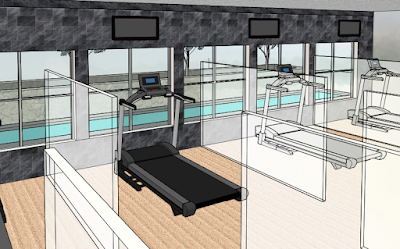
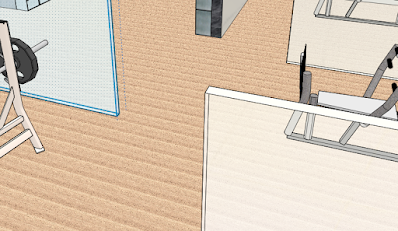
The gym center's design should provide a resolution to our current problem, which is the COVID-19 pandemic. For this, I separate every piece of fitness equipment with plexiglasses in order to slow down the spreading of coronavirus. 

I know it does not deliver a maximum result to obstruct the virus, yet it will slow down the spreading. The plexiglass will function similarly to masks as well.
Plexiglass in my design


Interior Design- Level 1 for body building area

This gym center is not like the usual and typical gym and fitness centers available in our market. This gym presents a unique characteristic that associate between bodybuilding and rehabilitation center. 

That is why I include bodybuilding equipment and therapy areas, even people with some injured conditions can rehab in this facility. All the bodybuilding equipment that I mentioned above are intended for endurance, agility, flexibility, and muscle strengthening. 

design in body building area

design in body building area


Interior Design- Level 2 for Rehabilitation and Therapy Area- Part 1

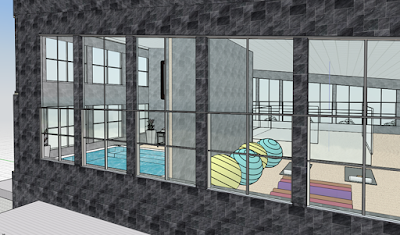
Therapy equipment is intended for recovery and restoration. There is an area for aquatic therapy, physical therapy, and yoga.
design in therapy room

design in therapy room


Interior Design- Level 2 for Rehabilitation and Therapy Area- Part 2

It also provides an area for aerobic so that people can do an aerobic exercise in this part.

aerobic exercise


Interior Design- Level 2 for Rehabilitation and Therapy Area- Part 3

Lastly, in level 2, I add one room for a hot tub spa. It is in a closed room with a design full of decoration.

hot tub spa room

hot tub

facilities in hot tub spa


Exterior Design

It is not complete if we do not make an excellent exterior design for the building. While I discuss how the structure's interior should look, I also concentrate on making a model more effective and efficient for reducing cost and conserving energy and the environment.

First, I construct a landscape with plants and water features besides the building. This design is aimed to make the surrounding environment greener and fresher.

design the landscape


Second, I add some canopy roofs to provide shades in the front and sides parts of the building. Therefore, it will cover the sunlight to straightforward enter the building when it is in hot weather.

add some canopy roofs


Third, I use concrete material for the building base, so it makes the building foundation stronger.

concrete material for the building base


Comfortable zone

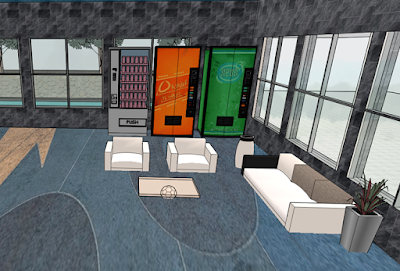
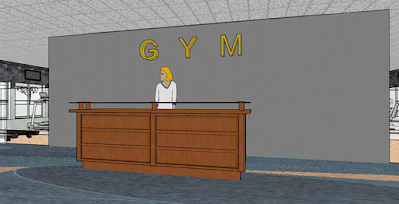
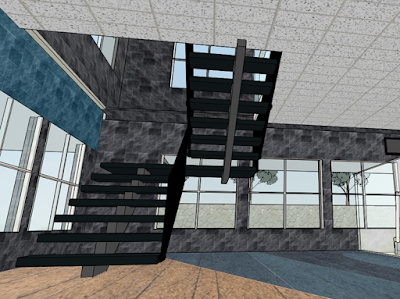
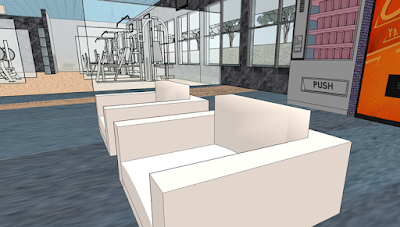
Moreover, to make this gym center comfortable, I add a lounge room near the reception area. In this room, I install furniture, indoor planter pots, and some vending machines. The floor is covered with carpet to maintain the coziness. For reaching level two, there is a stair that is covered with carpet, too.

lounge room

reception area

stairs


Additional rooms

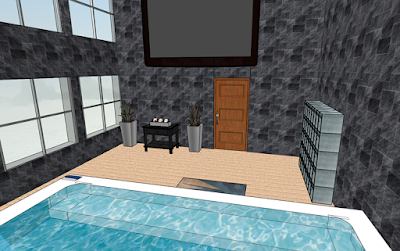
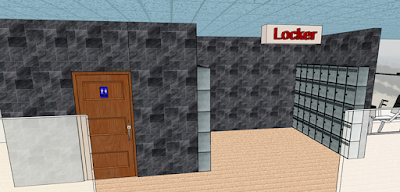
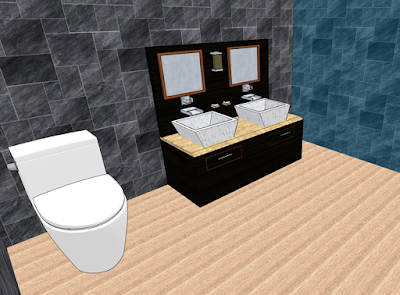
I design some additional rooms to accommodate this gym center, which are the restroom and locker room.

locker room

restroom area


Materials

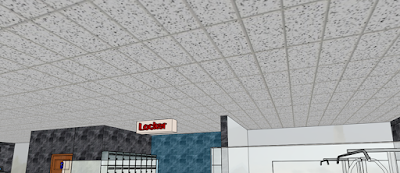
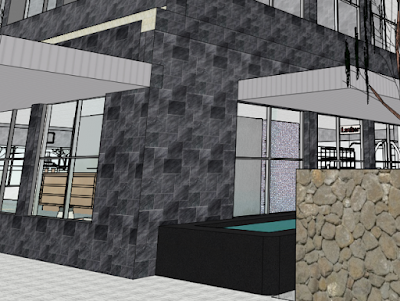
All floors are covered with pine wood, except the reception and lounge room. The ceiling is made from acoustic tiles. All indoor and outdoor walls are covered with gray slate stones. Window panes are made from colorized galvanized metal. All the materials can be found in the Formit library.
All floors are covered with pine wood

The ceiling is made from acoustic tiles

All indoor and outdoor walls are covered with gray slate stones.

Window panes are made from colorized galvanized metal.


Furniture, Equipment, and Props

I make this architecture model a furnished one by adding furniture, equipment, and props to create this model more compelling. Most props can be downloaded from 3D Warehouse Sketchup in SKP file format. SKP format is the most suitable for Formit, even OBJ and STL can be downloaded into Formit.

adding furniture, equipment, and props to create this model more compelling

3d Warehouse sketchup


Solar and Energy Analysis

We can perform an analysis for solar and energy in Formit. For more information on how to do it, click this link.

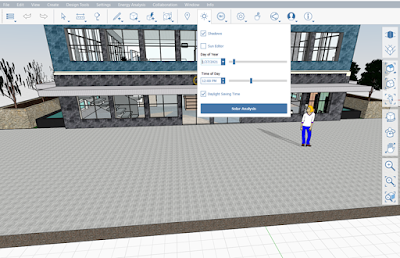
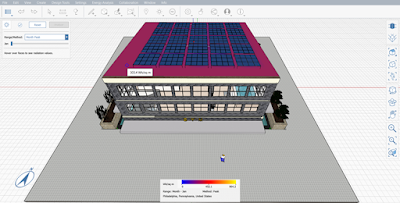
I choose Jan 27th, 2021, and time of day for 12:00 PM for doing this analysis. Yet, do not forget to set the location, too. I set the location in Philadelphia, PA. (I do not set the exact address because James Develin did not mention it in the video). 
solar analysis in formit

After that, click the solar analysis button. I select January as the month peak and roof face to be analyzed. 
select January as the month peak and roof face to be analyzed.


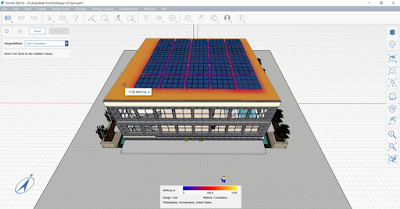
Then, click analyze button, and the result is the roof shows red color. It means the peak values of the rooftop is 303.4 wH/ sq. m. The cumulative energy for the entire year is 1167 KwH / sq. m) 

the result is the roof shows red color.

the peak values of the rooftop is 303.4 wH/ sq. m.

The cumulative energy for the entire year


Final Result of Gym's Design

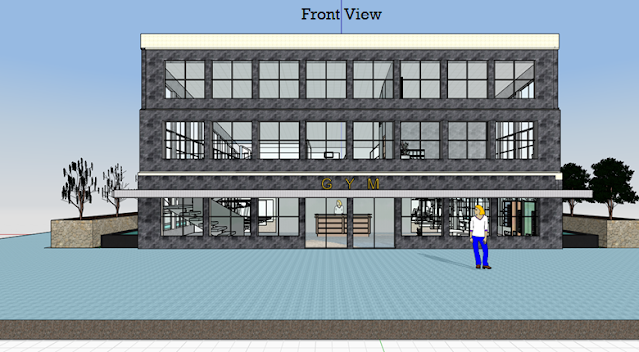
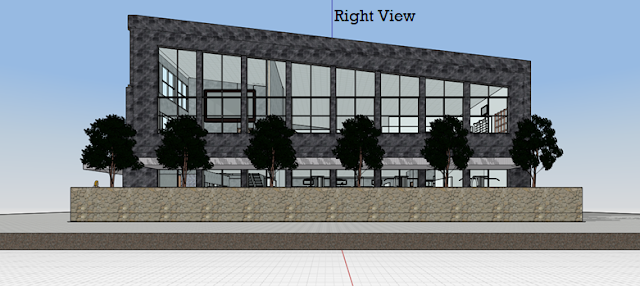
After finished modeling and analyzing solar and energy, we come up with our final result of 3D modeling of gym center. 

front view of gym design

right view of gym design

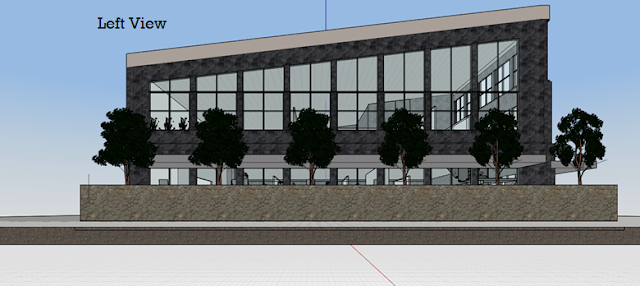
left view of gym design

back view of gym design